The Art of Growing Cannabis Indoors
Growing cannabis indoors can be a rewarding and fulfilling experience for enthusiasts and patients alike. Whether you’re a seasoned cultivator or a beginner looking to embark on a journey of self-sufficiency, planting cannabis seeds indoors offers control over your crop’s environment, resulting in healthier plants and potentially higher yields. In this comprehensive guide, we will walk you through the essential steps to successfully plant cannabis seeds indoors.
Why Grow Cannabis Seeds Indoors?
Before we dive into the details, let’s explore why many people choose indoor cultivation over outdoor alternatives:
- Controlled Environment: Indoor growing allows you to control various environmental factors like light, temperature, humidity, and air quality, ensuring optimal conditions for your plants.
- Year-Round Cultivation: Unlike outdoor growing, indoor cultivation enables you to grow cannabis year-round, unaffected by changing seasons or weather conditions.
- Privacy and Security: Indoor cultivation provides greater privacy and security, reducing the risk of theft or unwanted attention.
- Consistent Quality: With precise control, you can consistently produce high-quality cannabis with desired characteristics.
- Fewer Pests and Diseases: Indoor environments are generally less prone to pests and diseases, minimizing the need for pesticides and chemicals.
Step 1: Gather Your Supplies
Before you start planting cannabis seeds indoors, it’s essential to gather all the necessary supplies. Here’s a list of what you’ll need:
1. Cannabis Seeds
Choose high-quality cannabis seeds from a reputable source. The strain you select will determine the characteristics of your plants.
2. Growing Medium
Select a suitable growing medium such as soil, coco coir, or hydroponic setup. Ensure it’s well-aerated and pH-balanced.
3. Containers
Use pots or containers with good drainage to prevent overwatering. Fabric pots are an excellent choice for healthy root development.
4. Grow Lights
Invest in high-quality grow lights, such as LEDs or high-intensity discharge (HID) lamps, to provide the right spectrum and intensity of light for your plants.
5. Ventilation System
A proper ventilation system with fans and carbon filters is essential for maintaining optimal airflow and controlling odors.
6. Nutrients
Choose a nutrient regimen designed for cannabis cultivation, including nitrogen (N), phosphorus (P), potassium (K), and micronutrients.
7. pH Testing Kit
Maintaining the correct pH level of your growing medium is crucial. A pH testing kit helps you monitor and adjust pH as needed.
8. Temperature and Humidity Control
Install a thermometer and hygrometer to monitor temperature and humidity. Use heaters, air conditioners, and humidifiers as required.
9. Timer for Lights
Automate your lighting schedule with a timer to ensure consistent light cycles for your plants.
10. Propagation Supplies
For germinating seeds, you’ll need supplies like paper towels, water, and a dark, warm place.
Step 2: Germinate Your Seeds
Germination is the first crucial step in growing cannabis from seeds. Follow these steps for successful germination:
1. Water Soaking
Place your cannabis seeds in a glass of distilled water for about 24 hours. This softens the seed shell, making it easier for the taproot to emerge.
2. Paper Towel Method
After soaking, transfer the seeds to a damp paper towel. Fold the towel over the seeds and place it in a sealed plastic bag. Store it in a dark, warm place (around 70-85°F or 21-29°C) for 24-48 hours.
3. Check for Germination
Check the seeds for germination. Once the taproot is about 1/4 to 1/2 inch long, it’s ready for planting.
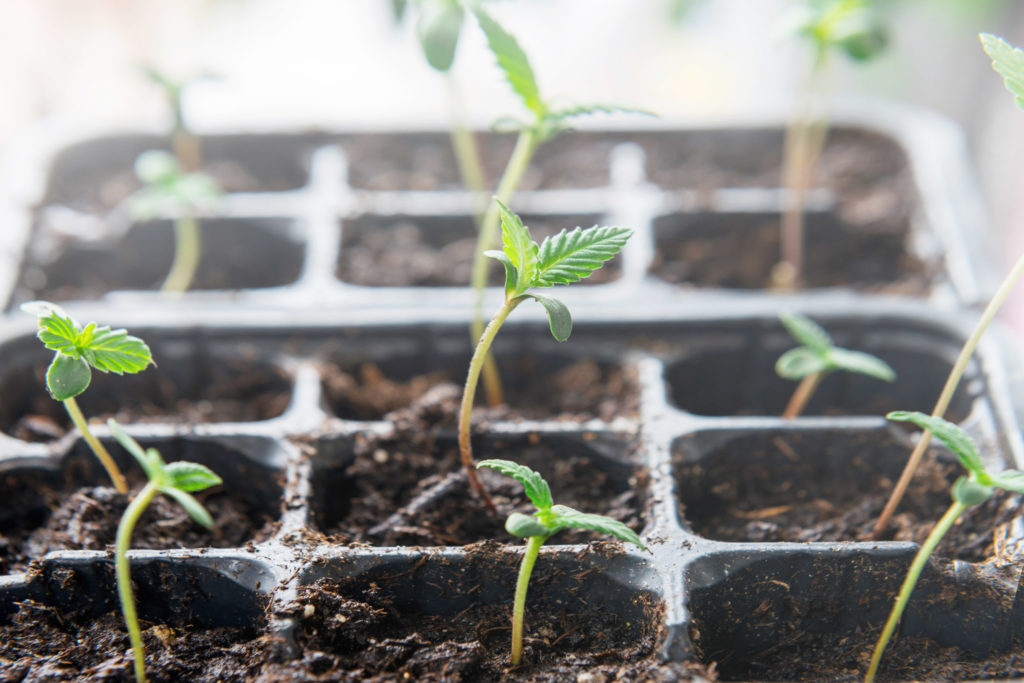
Step 3: Planting Your Germinated Seeds
Now that your seeds have sprouted taproots, it’s time to plant them in your chosen growing medium:
1. Fill Containers
Fill your containers with the chosen growing medium, leaving about an inch or two from the top.
2. Create a Hole
Make a small hole (about 1/2 inch deep) in the center of each container using a pen or your finger.
3. Plant the Seed
Gently place the germinated seed with the taproot facing down into the hole. Cover it with a thin layer of the growing medium.
4. Watering
Give the newly planted seeds a light watering to moisten the growing medium. Be careful not to overwater.
5. Provide Light
Place your containers under the grow lights. Maintain a light cycle of 18-24 hours of light per day for the seedlings.
Step 4: Maintain the Right Environment
Cannabis plants require specific environmental conditions for healthy growth. Here’s how to maintain the right environment:
1. Temperature
Keep the temperature within the range of 70-85°F (21-29°C) during the vegetative stage and slightly lower during flowering (65-80°F or 18-27°C).
2. Humidity
Maintain humidity levels around 40-60% during the vegetative stage and reduce it to 40% or lower during flowering to prevent mold and mildew.
3. Ventilation
Ensure proper airflow with exhaust fans and intake vents to prevent heat buildup and promote healthy plant development.
4. pH Levels
Regularly check and adjust the pH level of your growing medium to keep it within the optimal range (typically 6.0-7.0 for soil).
Step 5: Nutrient Feeding and Watering
As your cannabis plants grow, they’ll require nutrients and water. Here’s how to provide for their nutritional needs:
1. Nutrient Schedule
Follow the recommended nutrient schedule for your chosen nutrient brand. Start with lower doses and gradually increase as your plants grow.
2. Watering
Water your plants when the top inch of the growing medium feels dry. Avoid overwatering, as it can lead to root rot and other issues.
Step 6: Pruning and Training
Pruning and training your cannabis plants can help maximize yields and create a more even canopy:
1. Topping
Topping involves removing the top growth tip to encourage bushier growth and multiple colas.
2. LST (Low-Stress Training)
Gently bend and tie down branches to create an even canopy and expose lower branches to light.
3. Defoliation
Remove some of the lower leaves to improve airflow and redirect energy to bud development.
Step 7: Transition to Flowering
After a few weeks of vegetative growth, you can transition your cannabis plants into the flowering stage by adjusting the light cycle to 12 hours of light and 12 hours of darkness. During this stage, your plants will start developing buds.
Step 8: Harvesting Your Cannabis
Knowing when to harvest is crucial for optimal potency and flavor. Keep an eye on your plant’s trichomes, which are small, resinous glands. Harvest when they turn milky or amber, depending on your desired potency.
Conclusion: The Joy of Indoor Cannabis Cultivation
Growing cannabis seeds indoors can be a fulfilling and enjoyable hobby, allowing you to produce high-quality cannabis while gaining a deeper understanding of the plant. By following this step-by-step guide and continuously learning from your experiences, you can cultivate healthy and potent cannabis plants in the comfort of your own home. Remember that each strain may have unique requirements, so adapt your approach accordingly, and always stay informed about the latest advancements in indoor cultivation techniques. Happy growing!